In the previous post, "Seamless Integration is Key to Upgrading Hybrid Learning Experiences," we shared how digital learning platforms, visualizers, and digital services work together to create a fantastic hybrid learning experience. In addition, new breeds of visualizers have been developed to remedy the challenges in a hybrid setting.
An up-to-date visualizer offers a higher level of Integration, effectively creating teaching materials during classes and managing access to the materials generated on the spot free of hassle. It is the interactivity we expect to enhance teaching and learning in the post-pandemic campus.
In the following tutorials, we will explore the basics of the A30 and how it could upgrade the user experience of Google Classroom. Aside from the A30 visualizer, the bundled AVerTouch utility would be necessary to unleash its full potential.
Better Integration out of the box
AVerTouch is a no-cost management utility that brings all relevant Google services to a single interface.
No more logins and back and forth between windows and tabs.
The clean, intuitive interface grants teachers pain-free access to Google Classroom services.
It can help the teacher with the following:
- Efficiency: manage with ease across services on the same platform
- Access Control: grant or limit access to intended classes or individuals (with Google Classroom)
- Visibility: one-stop operations minimize strains and potential mistakes in operations
- Flexibility: class interactions can be created easily with clicks, such as in-class assignments, pop quizzes, or sharing on-demand materials.
File upload on the spot matters
The teachers would often find their teaching flow interrupted whenever a file upload is necessary for the class access through tablets or Chromebooks.
If teaching with a conventional visualizer, teachers would have no choice but to collect image files manually, transport them through an external drive to the laptop and upload them to Google Classroom for later use.
On the contrary, AVerTouch uploads an image to Google Drive right after a shot is taken. As a result, teachers will feel much relieved and relaxed in content delivery without interruption.
* Before you proceed with the following tutorials, it is advised to have AVerTouch installed on the classroom laptop or PC and an existing Google Classroom account for the teacher and bound to it.
Tutorial 1: Create an image assignment
- Create a snapshot
- Upload the picture to Google Classroom
- Select the destination class and subject
- Leave your instructions if necessary
- Press "assign" to complete the process
- The intended class or students will be notified of the assignment
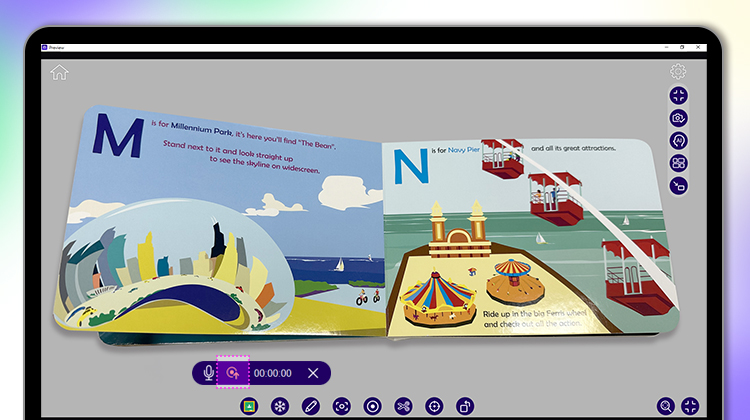
Tutorial 2: Create a video assignment
- Press Google Classroom "Record" button first
- Press "Record" to start recording
- Press "Stop" when you're done
- The video will be uploaded automatically once the recording is stopped
- Select the destination class and subject
- Leave your instructions if necessary
- Press "assign" to complete the process
- Your new assignment is now available for the class access
Dual visualizers, doubled engagement
Despite the versatile A30 can function as more than just a visualizer, streaming live teaching video for students at a distance while backup in-class clips to the cloud in seconds. However, there are still times when more than one scene or event needs to be recorded simultaneously.
In class activities, such as an experiment in science class or a culinary demo for cooking class, there is occasionally more than one spot that requires viewers' attention simultaneously. With one visualizer only, it will be too demanding for the learners to switch their attention between the two. It will also be more challenging for the instructor to keep high-quality content delivery while having no choice but to split the demo process into more or mix the explanation into the demo process alternately so that the only camera could capture the entire teaching.
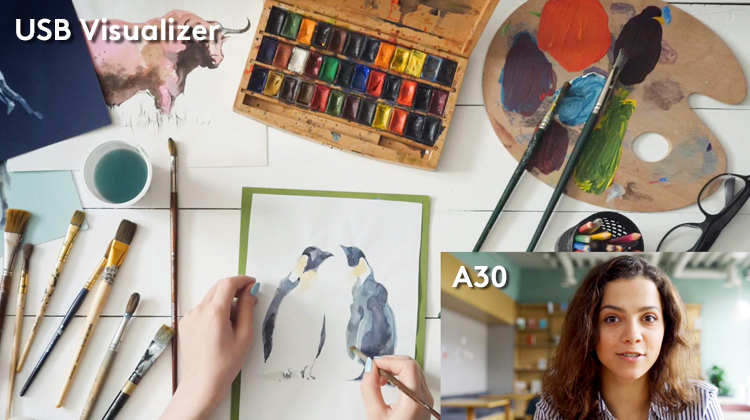
Here, the second visualizer can bring extra visuals to whatever teaching activity may require. Working with any other existing visualizer in class, the A30 can serve as the primary video source in PIP mode.
The luxury of having two visualizers is apparent—showcasing details of two interest points in parallel without losing any second of the process. Classes involving much practice or hands-on activities would benefit from dual visualizers. For example, a chemistry teacher can do an experiment demo skillfully along with in-depth instruction orally or written on the digital blackboard.
* Before proceeding with tutorial 3, ensure you have two visualizers: the A30 as the first and any other as the second. Please ready at hand an HDMI cable, a USB type-C cable, and two USB cables for connection.
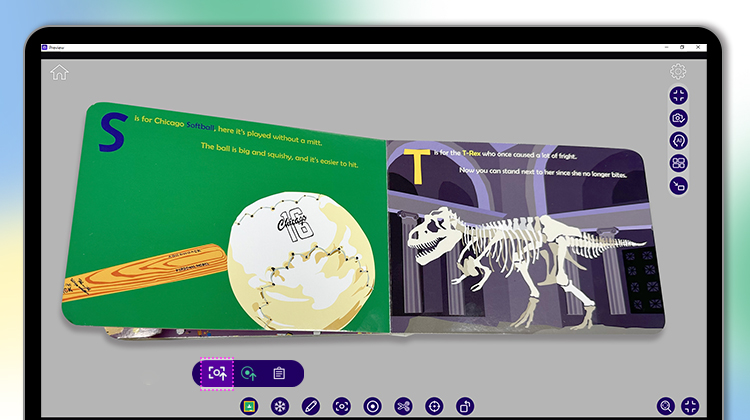
Tutorial 3: Show your lecture and teaching demo at the same time in a split screen in PiP (Picture-in-Picture) mode
- Power on both visualizers.
- Connect the second visualizer to the A30 with a USB cable.
- Connect the A30 to your laptop or PC with the USB type-C cable.
- Connect the A30 to the classroom display.
- Turn and twist the camera heads on both visualizers to the desired targets—ideally, one at the presenter and the other at the motion or object displayed.
- Now, you have a screen split into two, with the source of A30 shown in the large and the second visualizer in the small screen.
- Press the "Switch" button on the remote to switch between the two screens in the split.
Wrap up
The instant file upload and dual screens in PiP mode help teachers break the stagnation with more engagement. The interchangeable screens also add more dynamics to the class interactions while fitting into multiple teaching scenarios. We'd love to see more teachers create their edge with this 2-in-1 streaming visualizer and other classroom technologies.