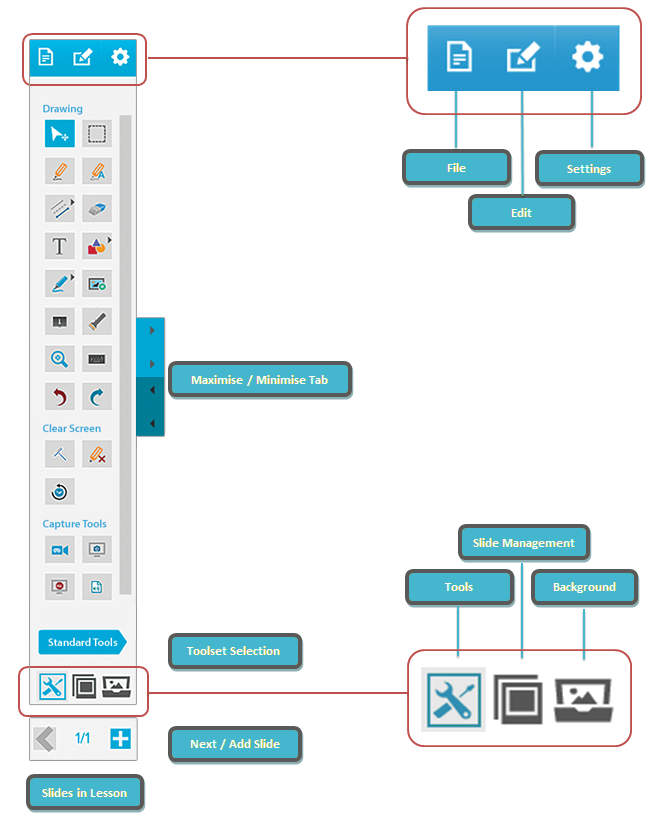
The Presentation Settings Tab
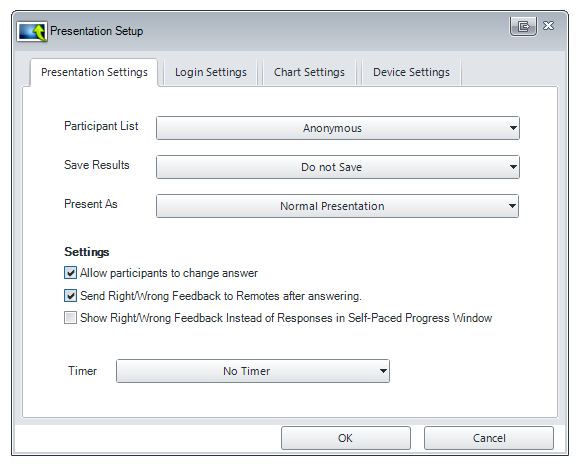
Participant List – Ability to select a participant list to use or run an anonymous presentation.
Save Results – Choose a location to save the question results.
Present As – Choose the type of presentation required.
Allow participants to change answer – Allows participants to change their answer for the current question slide.
Send Right/Wrong Feedback to Remotes after answering – Remotes will receive a check mark if answer is correct and an X if answer is incorrect. Remotes will receive both a check mark and X if feedback is turned off, to indicate that the response has been received.
Do not show Answers in Self-Paced Mode – Ability to hide or show answers when running a presentation in Self-Paced Mode.
Timer – You can select no timer, use the time set within the slides, or global timer by entering the number of seconds for all slides in the presentation.
The Login Settings Tab
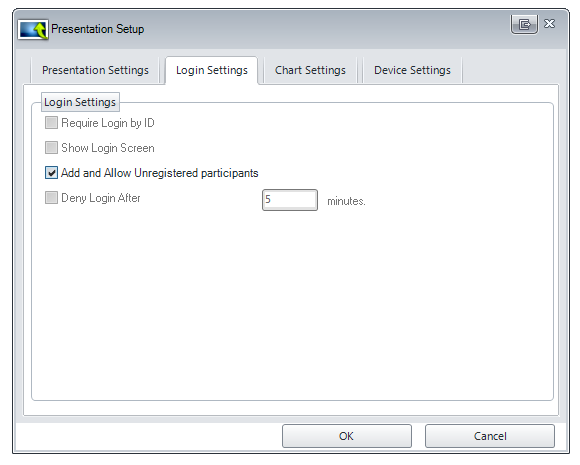
Require Login by ID – Participants will be prompted to enter their User/Participant ID.
Show Login Screen – displays the login screen so the instructor can view the participants that are logging in.
Add & Allow Unregistered participants – participants will be added to the participant list by logging in with their Participant ID. This option must be checked when using an Anonymous list. For the Anonymous list, participants will only require the Session ID or IP address.
Deny Login After — minutes – Logins after the set amount of time will not be accepted.
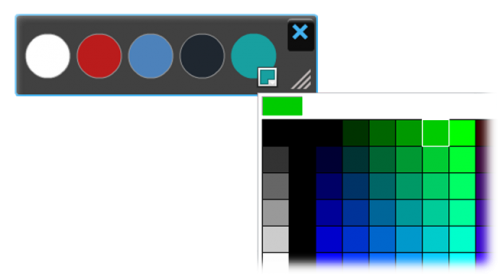
The Chart Settings Tab
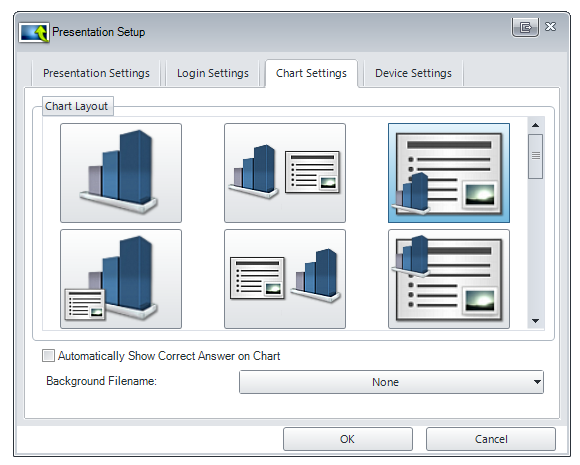
Select Graph Layout – Selects how the response chart will be displayed during presentation.
Automatically Show Correct Answer on Chart – Checking this option will always display the correct answer on the chart using colour (Green for correct answer, Red for incorrect)
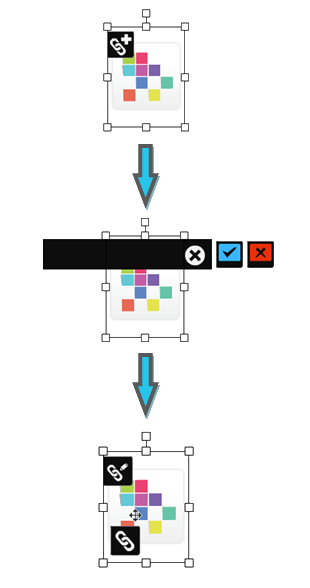
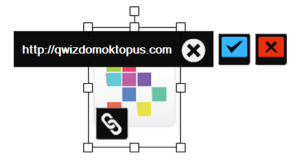
Background Filename – Selecting this option will allow you to select an image to display as the response chart background.
The Device Settings Tab
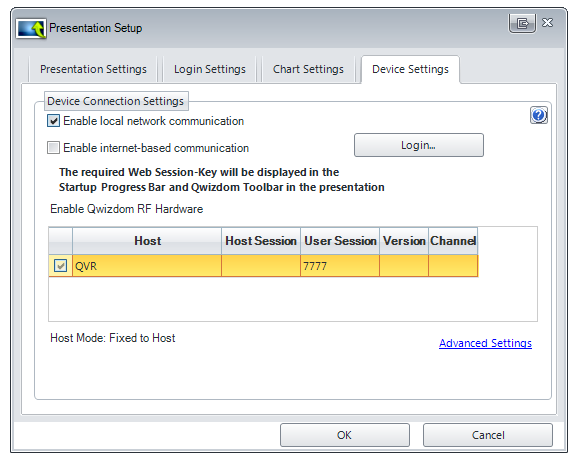
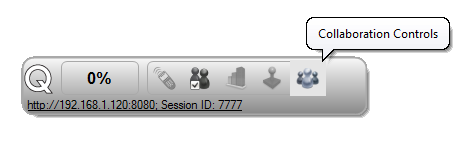
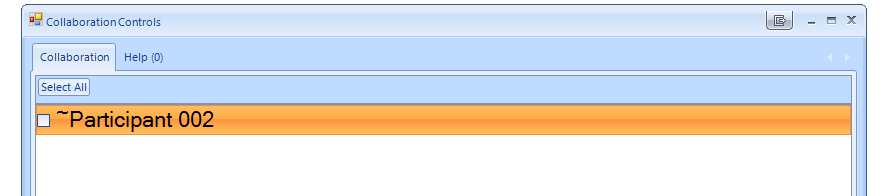
These settings determine how participants may join and interact during a session using a personal device. Participants may collaborate, annotate, take notes, answer questions, request help, and more depending on the device, application, and license.
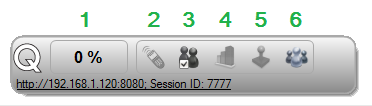
Local Communication allows users to connect to the session by IP address. All users must be on the same network as the presenter. Internet access is not required.
Web-based Communication allows users to connect to the session by a session key. Users can join from anywhere in the world. Internet access is required for the presenter and all participants.
Qwizdom Hardware refers to dedicated RF handsets manufactured by Qwizdom. These devices are simple, low cost, and reliable and may be used for polling, instant assessment, and basic interaction by participants.
Advanced Settings Link
Note: some of these options will only apply to the RF hardware.
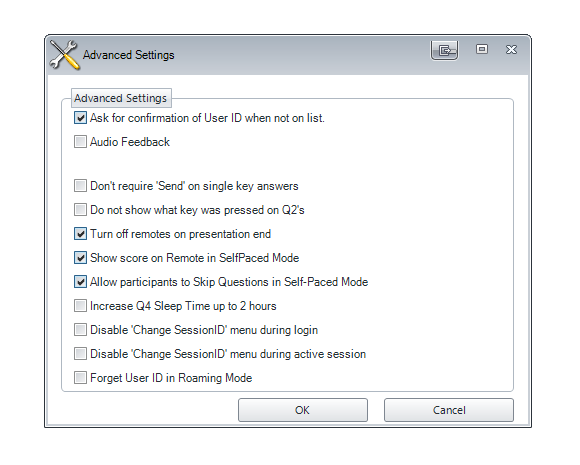
Ask for confirmation of User ID when not on list – the remote will prompt the participant for the user ID again, if the participant is not in the participant list that is loaded.
Audio Feedback – Provides audio feedback where available
Don’t require “Send” on single key answers – The remote will automatically send the answer once it has been entered.
Do not show what key was taped on Q2’s – Does not show on the display which key was taped.
Turn off remotes on presentation end – Automatically turns off the remotes when a presentation ends.
Show score on Remote in Self-Paced Mode – enables final score to display on screen after completing an answer key.
Allow Participants to Skip Questions in Self-Paced Mode – Enabled participants to skip questions before answering them in Self-Paced Mode.
Increase Q4 Sleep Time up to 2 hours – Increases the time before the Q4 will go into sleep mode (This also applies to the Q6 remote)
Disable “Change SessionID” menu during Login – Hides the Session ID option from the menu.
Disable “Change SessionID” menu during active Session – Hides the Session ID option from the menu during presentation.
Forget User ID in Roaming Mode – If Roaming Mode is enabled the User ID will be forgotten each time the session is finished.


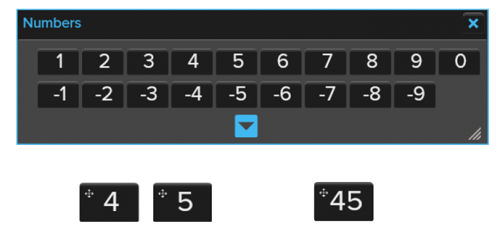
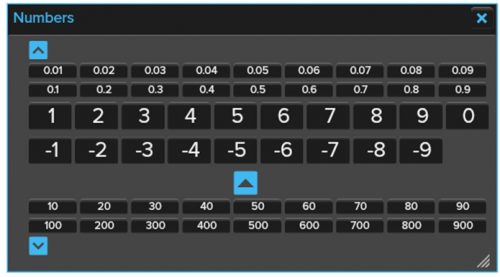
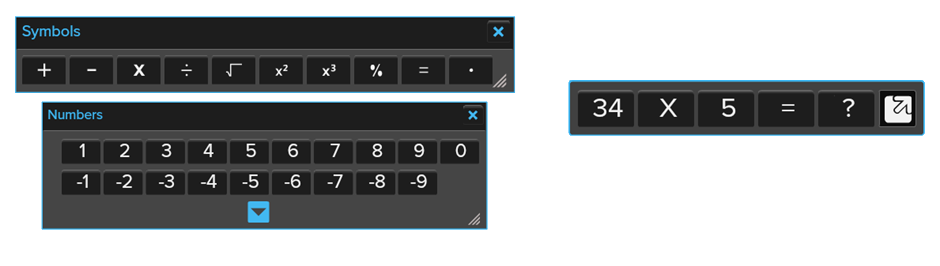
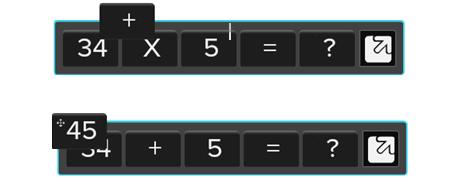
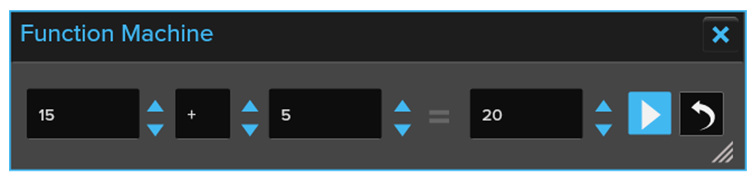

 Calculations will appear at the bottom of the game screen, and will become progressively more difficult with every question. Click or tap the numbers in the grid to fill in the missing numbers in the calculation.
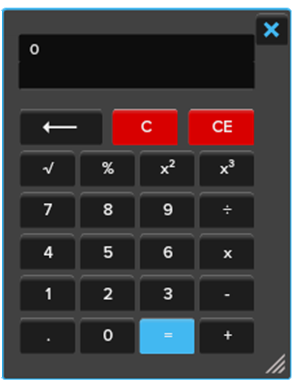
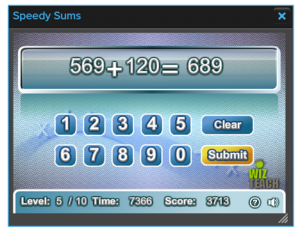 lculate the answer as quickly as possible to receive maximum points. Click or tap the numbers to form an answer, or use a keyboard to type it in.
 Aim the cannon and fire to destroy the balls by forming pairs that add up to 10.
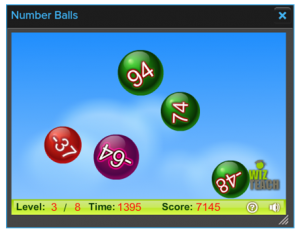 Click or tap the coloured balls in ascending order to make them pop. Work quickly in order to receive maximum points.
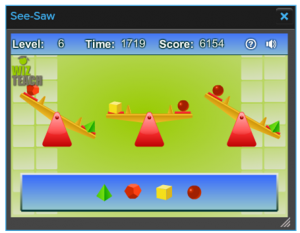 se the see-saws displayed to work out the heaviest item.
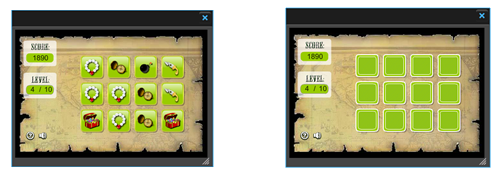
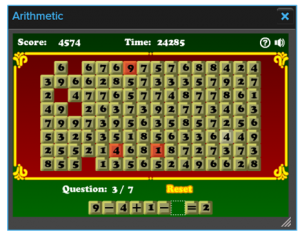
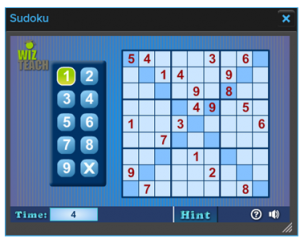 l in the squares with 1 to 9 according to the following rules:
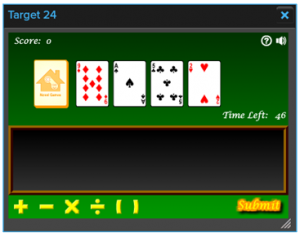 Arrange the cards and arithmetic signs into a formula that yields 24.
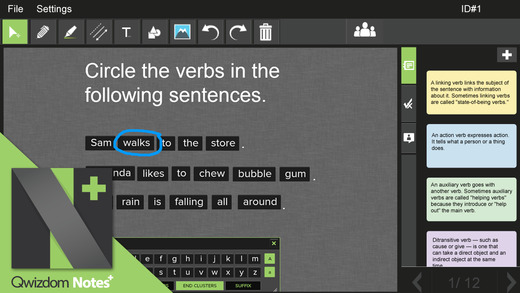
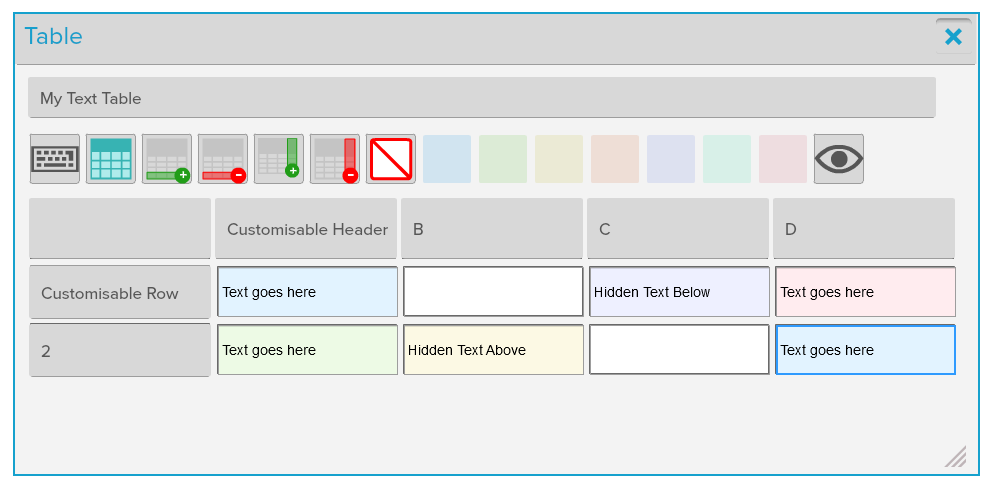
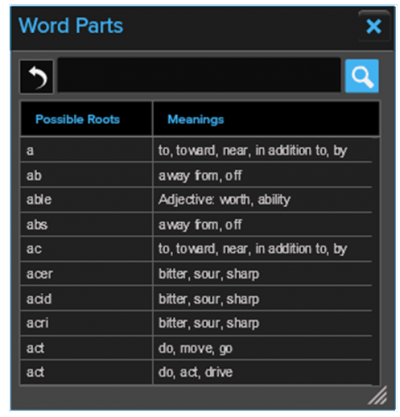
 The word vault stores words from existing text boxes to create ‘fill in the blank’ scenarios.
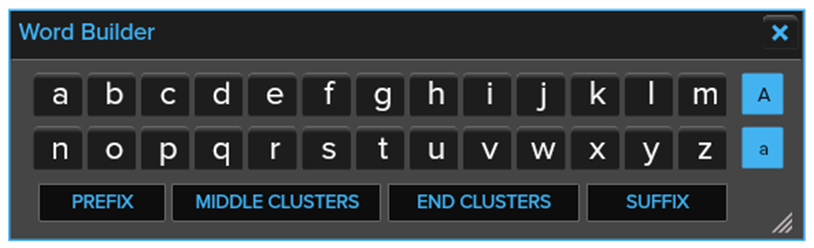
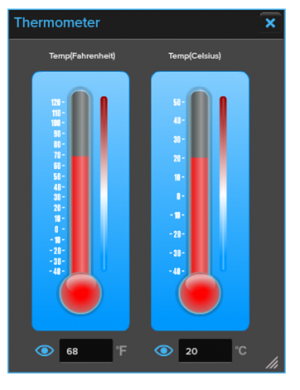 he thermometer compares temperatures in Fahrenheit and Celsius/Centigrade.
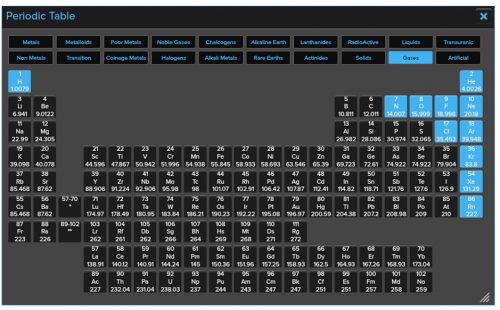
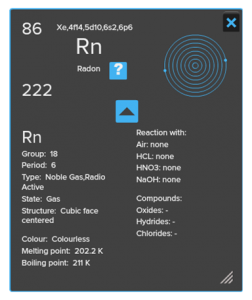 Click or tap an element to reveal a visual of the atom and the outer electron shell as well as links to a wiki page.