IVA features

Here are answers to some common questions about the Surveillance

6 entries

What steps need to be done before use the IVA features?

If IVA function has been disabled, the all corresponded functions are disabled.

To enable IVA function, must meet the following conditions:

  1. CODEC type is set to H264 or MPEG4.
  2. Stream type is set to “triple” and Stream 3 resolution set to 640x480.
  3. Sensor mode should be set to Normal/Wide Angel mode.
Need more help? »» Contact us
How to enable the “Cross Detection” function in FV3028-RTM?
  1. Cross detection function detects moving objects that cross the virtual lines that user has set up in IP camera application and to trigger the alarm.

    1. Click Application > IVA, select Cross Detection from the drop-down list.
    2. Enable Cross Detection Area 1/2 check box
    3. You will see the red / green line is shown on the video screen.
    4. Drag the red line ( area 1 ) or green line ( area 2 ) to set the area for cross detection. You can set both lines for cross detection or one of the lines. There is no priority for the 2 lines the color is just for you to differentiate when both lines are set.
    5. After setting the cross detection area, click the arrow to set cross detect direction. The arrow point is the direction of cross way.
    6. Click Save to save the setting.
  2. Go to System > Image > Cross Detection Display to set the display status of cross detection line(s). If user wants to see the cross detection line(s) always display on the screen, select always. If user only wants to see the cross detection line(s) when the cross detection has triggered, select the time in second (1s, 2s, 3s, 4s, or 5s) to display the cross line(s) on the screen.
  3. To set the cross detection alarm, please go to the Event Setting.
Need more help? »» Contact us
How to enable the “Tampering” function in FV3028-RTM?
  1. Alarm triggers when the following situation has occurred.

    Spray-painting: Alarm is triggered when the camera has detected the painting sprayed on the camera’s view for over 2 seconds.

    Intention Block / Cover: Alarm is triggered when the camera has detected the camera’s view being blocked intentionally over 2 seconds.

    Accidental redirection: Alarm is triggered when someone re-directs the position or direction of camera accidentally.

    Defocusing: Alarm is triggered when the camera has lost focus.

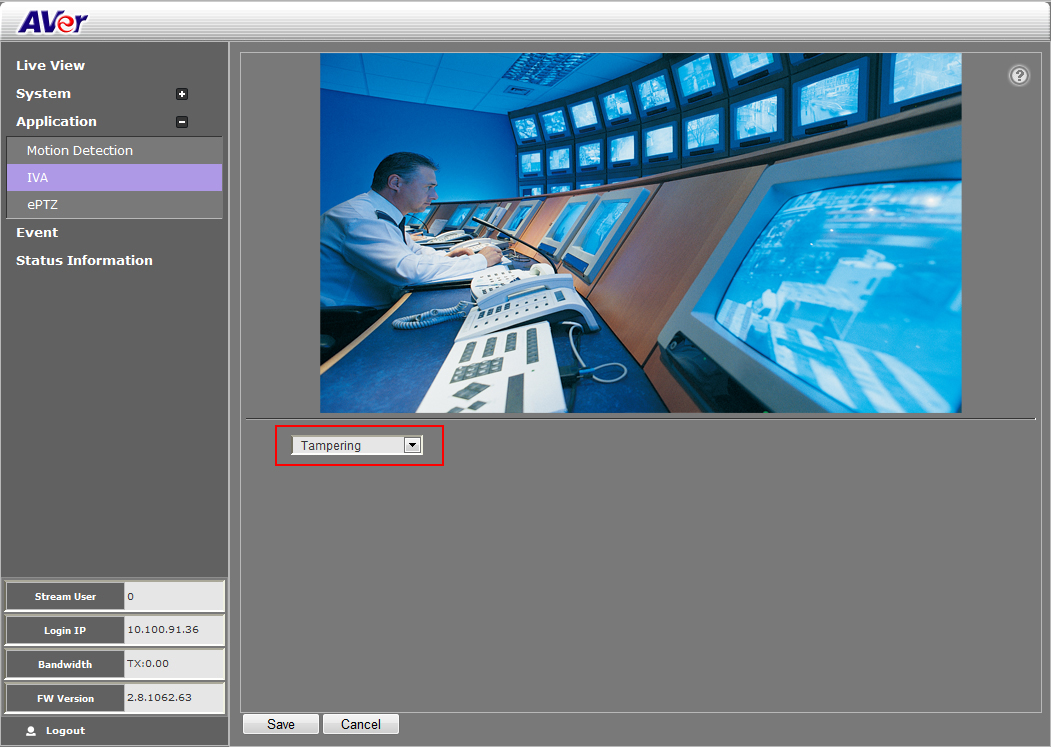
    1. Click Application > IVA, select the Tampering from the drop-down list.
    2. Click Save to enable the Tampering function.
  2. Go to Event setting and mark Tampering to enable tampering alarm.
  3. When alarm has been triggered, there will be a red-frame flashing on the live video screen for 30 seconds.
Need more help? »» Contact us
How to enable the “Missing Object” function in FV3028-RTM?
  1. Select a certain object on the screen for the camera system to detect System gives alarm when the object disappears. (Before start, please make sure the view is clear for the camera to set a view for contrast)

    1. Click Application > IVA, select the Missing Object from the drop-down list.
    2. A red frame will show up on the screen. Click and drag the red frame to the object position and click the frame to adjust the size of frame.
    3. Sensitivity: Set the degree of response of detection.
    4. Detection Duration: Set the lasting time for camera system to detect the object.
    5. Alert Duration: Set the alarm lasting time after alarm has been triggered.
  2. Click Save to save the settings.
  3. Go to Event setting and mark Missing Object to enable the alarm.
  4. Go to System > Image > Missing Object Display to enable the display status of Missing Object.
  5. Go to Live view, the red frame appears when the alarm occurs.
Need more help? »» Contact us
How to enable the “Suspicious Object” function in FV3028-RTM?

Suspicious Object is an unusual object appears on the screen. ( Before start, please make sure the view is clear for the camera to set a view for contrast )

  1. Click Application > IVA, select the Suspicious Object from the drop-down list.
  2. A red frame and green frame will show up on the screen. The red frame is defined as detecting zone and green frame is defined as object size frame. Click and drag the red frame to the position and click the frame to adjust the size of frame. Next, click and drag the green frame the detecting zone and adjust the size of object for detection.
  3. Sensitivity: Set the degree of response of detection.
  4. Detection Duration: Set the lasting time for camera system to detect the object.
  5. Alert Duration: Set the alarm lasting time after alarm has been triggered.
  6. Click Save to save the settings.
  7. Go to Event setting and mark Suspicious Object to enable the alarm.
  8. Go to System > Image > Suspicious Object Display to enable the display status of Suspicious Object.
  9. Go to Live view, the green frame appears when the alarm occurs.
Need more help? »» Contact us
How to install CM3000 and CM5000 in one PC?
  1. First, must verify if the computer meets the minimum system requirements.
    System RequirementMinimumRecommended
    CPU Intel Core i5 3.3GHzIntel Core i7 3.2GHz
    Main Memory1GB2GB or higher
    Video Memory 512MB1GB or higher
    Hard disk160GB or higher
    OS Windows 7
    Network 10~100 Mbps Ethernet
    Others DirectX 9.0 or above
  2. Install the CM5000 software
    1. Place the installation CD into the CD-ROM drive then click Install CM5000.
    2. Please carefully read the license agreement. Click Yes to accept the agreement.
    3. Setup the user name and password for login CM5000.
    4. Then, follow the on-screen instructions to complete the installation.
    5. When the installation is completed, click Finish.
  3. Install CM3000 software
    1. Place the installation CD into the CD-ROM drive then click Install CM3000. And follow the on-screen instructions.
    2. Please carefully read the license agreement. Click Yes to accept the agreement.
    3. Enter the administrator ID and password.
    4. Then, follow the on-screen instructions to complete the installation.
    5. Click Finish.
  4. Set the Display position of CM3000
    1. Go to the Screen Setting by click Setup > Display position > Screen Setting
    2. Set the Select Screen of Center/EMap/Playback to Screen 2

      Do not enable “ Block windows OS hotkey “ in CM3000 System Setting, otherwise CM3000 & CM5000 cannot display to the monitor at the same time.

      CM3000 and CM5000 can work smoothly in one PC and display as below:
Need more help? »» Contact us